Winter Hill Walking – Essential Skills And Equipment
Winter in the UK is a season of varied conditions. Much of this is down to weather. Oscillations between cold fronts and warm fronts provide big differences in cloud cover, temperature, wind and types of precipitation.
Snow is more likely to fall and persist on higher ground, so the terrain in which you choose to walk in winter will potentially provide a greater degree of difference underfoot than in the summer months.
In the UK in summer your boots and clothing are going to be very similar for walking down in the dales as well as high in the hills. Walking in in the hills in winter, however, can be more technical than in summer, requiring more clothing and additional equipment. Winter walking also requires additional skills.
Winter Walking Clothing
Choosing and using clothing is part of your winter skill set. However expensive, innovative or technical your garments, it is still you who has to decide which garments to wear in which combination. It is you who has to operate the zips, vents, velcro flaps and hoods. No garment will do this for you. Staying at the right temperature without excessive moisture build up in your clothing is a skill in itself.
The risk of hypothermia increases in winter, when you are more likely to encounter cold, wet and windy conditions. Low temperatures combined with wind chill presents the additional risk of frost nip or frost bite. Your main line of defence against adverse conditions is your clothing and how well you manage it.
Walking in winter provides some interesting challenges for your clothing system. Clearly you need to stay warm in cold conditions but you also need to be able to release excess heat when working hard. Overheating will make you sweat. In warm conditions, this is fine as long as you drink enough water but in winter, sweating makes your clothing damp and less insulating.
You need a clothing system with the flexibility to dissipate the heat generated walking up a steep hill as well as keeping you warm while in the wind at the top. Another consideration is your walk may start at a relatively low altitude but extend to mountain tops. For example on the west coast of Scotland, it’s not unusual to start at or very near sea level and climb to over 1,000 metres (3,000 ft), where the conditions will be very different.
Wherever you are walking in winter, getting your base layers right is the foundation for being warm and comfortable. You have two basic choices – synthetic or wool base layers. Synthetic base layers tend to transport moisture (and heat) away from your body quickly. These are especially good for high energy output activities such as trail running, mountain biking and nordic skiing. They are also fine for walking as long as they are combined with other clothing in a way which keeps you warm enough. Synthetic undergarments do have the general tendency of becoming smelly quite quickly though.
Wool undergarments have been transformed in the last 20 years. Gone are the days of itchy and scratchy wool garments next to the skin. The length and fineness of Merino wool fibres means base layers made of Merino are comfortable as well as warm. Wool base layers tend to wick moisture away from your body steadily and stay warm even when a little damp. This is ideal for walking. Plus wool is remarkably odour resistant.
Your starting point for winter walking clothing is generally a fine Merino base layer top and long johns. Thickness of Merino clothing layers is often stated in terms of fabric weight. 200 grams per square metre is a good base layer weight.
Layering is the key to staying warm in winter. Air is trapped between layers as well as within them. Air is a good insulator. For wear on top of your base layer, a couple of warm layers of fleece, one thinner, one thicker provides a straightforward yet flexible layering system for winter walking. You can wear either garment individually or both together, providing multiple options with different levels of warmth.
A windproof layer over the top of your warm layers will prevent warm air in your layers being replaced by cold air, introduced by wind or movement. Waterproof garments are very windproof but are not necessarily as breathable as other options. They tend to trap moisture if you are working hard. Windproof shells tend to be more breathable. A separate windproof shell provides the most flexible option, which can be worn with any combination of your thermal layers but softshell garments combining a fleece or fibre pile lining with a windproof outer shell perform very well as winter garments.
Regardless of any windproof-only shells you might use, you should always have good waterproofs with you on a winter walk. Getting wet in cold conditions is a serious threat to your wellbeing. Good rain protection is essential. Carry both waterproof jacket and trousers. One option in winter, particularly in the hills, is to use waterproof trousers as your main trousers, over a pair of long johns. This reduces weight in your pack and time spent changing while out.
Gaiters are valuable in creating a seal between boots and trousers, preventing snow from entering.
Gloves should always be packed for winter walking. If I am going to be encountering a range of conditions, I will generally pack two pairs of finger gloves, one lighter of wool or fleece, one warmer and more protective, possibly containing a waterproof membrane.
A wool beanie or bobble hat is worth it’s weight in gold for any winter walk but also consider adding a second hat to your daypack, one which combines a fleece lining with a waterproof and windproof shell. These are great in windy conditions or in persistent rain.
A winter walking habit I have adopted from making ski tours in Norway and snowshoe trips in Sweden is carrying a “mothership” jacket. This is a generously sized duvet jacket of synthetic or down material, which can put put over all of your other layers. It allows immediate warmth without having to remove your shell layer to put on another thermal layer. Like a sleeping bag, these jackets compress down into a stuff sac. This can be kept at the top of your rucksack. When you stop for a lunch or a snack or other break, you can quickly don the jacket.
Winter Day-Pack Considerations
A Head torch is always useful but essential in winter. A powerful lamp to penetrate deep into the darkness allowing pathfinding is best. Also, make sure you can turn it on and adjust the beam setting while wearing your winter gloves. Remember to pack spare batteries.
A map, waterproof map case and a compass are winter navigation essentials. A dedicated GPS unit can also be useful to provide a grid reference to double-check your position in low visibility.
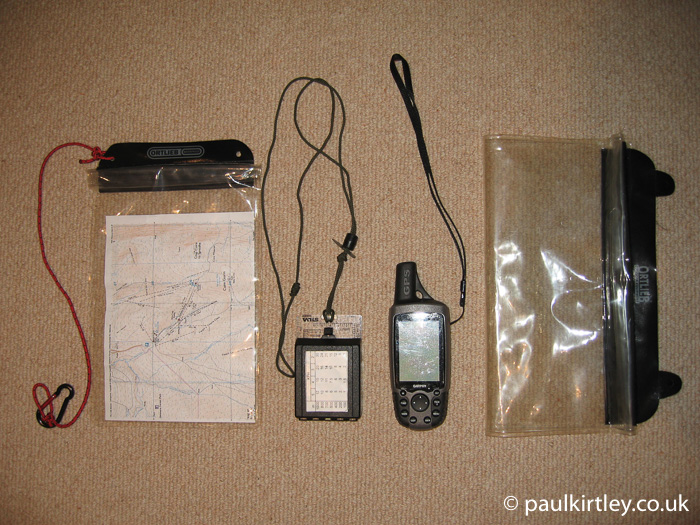
Food – You will burn more calories just staying warm in winter. Maintaining normal blood sugar levels keeps you mentally sharp, helping prevent navigational errors. Avoiding hypoglycaemia also aids the avoidance of hypothermia. In addition to your lunch, take calorific snacks which can be consumed without stopping for long. In addition to a bottle for water for hydration, a hot drink in a vacuum flask is valuable too.
Taking an emergency shelter is prudent, particularly in the hills and mountains. For personal use the minimum is an orange plastic survival bag. Better is a Blizzard Bag. For group use, a group shelter or bothy bag is great for hunkering down.
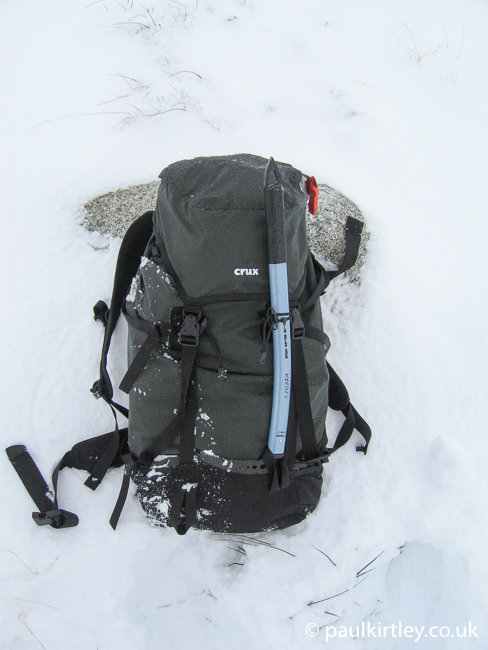
Your clothing, equipment and food requirements are greater in winter. Thus a larger daypack is needed. For winter hillwalking, a 45 litre pack is usually necessary.
Winter Route Planning and Preparation
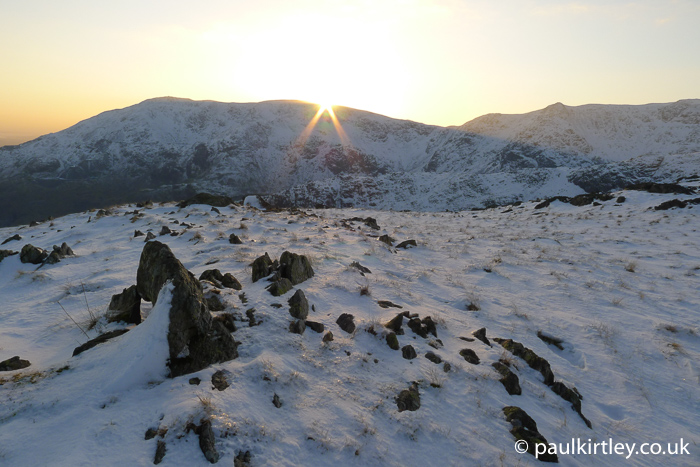
When planning a winter walking route, you should first remember you have limited hours of daylight. It is possible to complete many straightforward lowland routes by head torch if you wish. Other routes – particularly in the hills and mountains – will have to be completed before darkness.
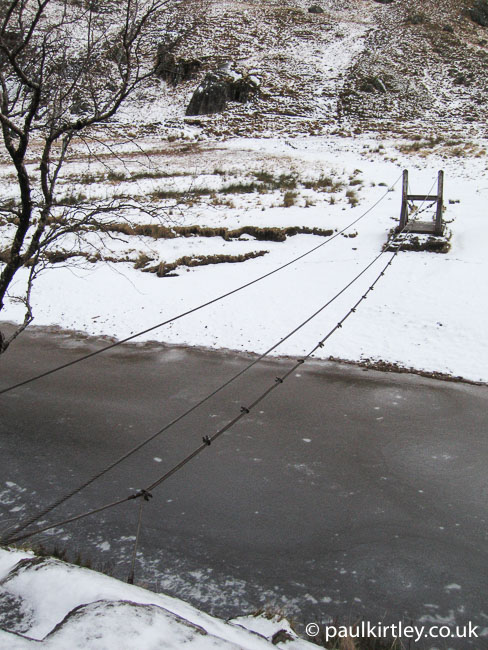
Terrain you would be able to negotiate in summer may become difficult or impossible in winter. Even minor streams can become swollen and hard to cross. Rocky areas coated with ice become perilous the negotiate. In the hills and mountains some slopes become dangerous in winter conditions. Convex slopes and ground between 30 and 60 degrees can be avalanche prone. Cornices will prevent access to the top of some slopes. In the hills your options for retreat will likely be limited compared to summer.
In the days leading up to your intended walk, you should keep a watching brief on the weather reports for the area you are intending to walk. This will give you a good idea of the conditions on the ground. You should, of course, also take in the latest weather forecasts for where you are going, bearing in mind conditions higher up tend to be colder and more windy than lower down. Learning to interpret surface pressure charts is a useful skill. For mountainous areas you can obtain specific mountain weather forecasts. If you are heading to the mountains in winter, then you should also seek out the latest avalanche reports for the area.
Flexibility is a valuable mindset in winter, particularly if you have travelled to an area with specific walks in mind. On a particular day conditions in the hills may be unfavourable for the walk you intended but there will be other alternatives in the valleys below.
When calculating your timings for a walk, your average walking speed is likely to be slowed by harder conditions underfoot and the increased weight of the winter clothing and equipment in your daypack. Strong winds, heavy precipitation or low visibility can significantly hinder progress.
When coming up with a route plan, you should take into consideration all of the above factors both in terms of the route you intend to follow but also in working out the options for cutting the day short if time is against you. You should have clearly defined escape routes as part of your plan.
Use Naismith’s rule or a modification thereof to calculate your route timings. This provides an objective calculation of how long the route is likely to take and helps prevent you biting off more than you can chew. With your overall route determined, write down distances, bearings, grid references and timings on a route card. Make a copy for each member of the party plus one spare.
Remember to leave a note of your intended route, including potential escape routes, and when you expect to return with a responsible person. For this you can use your route card.
Once you have your route planned make sure you have all of the clothing and equipment packed for any conditions which may be expected. Check and pack your bag as much as possible the evening before. Leave a note for yourself to remember any remaining items such as filling your flask with hot water or taking sandwiches from the fridge.
Winter Navigation Skills
Navigation under winter conditions is generally harder than in summer. Weather conditions tend to be more challenging. When there is snow on the ground, landscape features become smoothed over or hidden. The combination of snow and low cloud must be amongst the most difficult conditions in which to maintain your orientation.
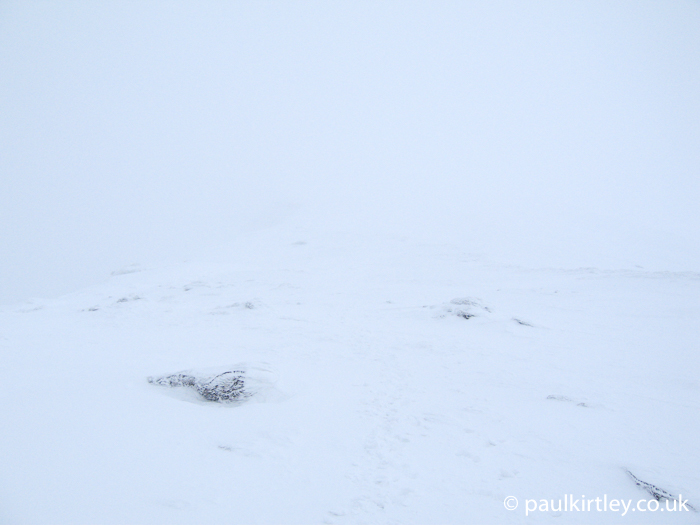
Keeping track of where you are is fundamentally about knowing where you started then keeping track of direction and distance. To do this in winter you are more likely to have to rely on walking accurately on a compass bearing. Allied skills include pacing and timing to keep track of distance covered. Walking on a magnetic bearing, timing and pacing are skills you should practise under less challenging conditions before having to rely on them in a blizzard. Night navigation on heathland in summer is a good way to develop these skills.
Within your navigational tool box you should have the ability to identify hazards on the map and avoid them by using techniques such as dog-legs and boxing-around. Again these techniques require you to be able to walk on a bearing and keep track of distance. Further, you should be able to assess any possible errors you may make and thus preempt any dangerous consequences. An example of this would be being aware of the risk of walking too far on a bearing and falling down a gully – a risk which is present even on popular mountains such as Ben Nevis.
If you are not confident in your navigational abilities, then you should seek professional instruction. At its most critical level winter navigation in the hills is a life-or-death skill set.
Further Reading On Mountain Navigation
Dynamic Assessment of Winter Conditions
If you have studied the weather forecasts, surface pressure charts and avalanche reports, as applicable, then you will have a good idea of the general conditions to be expected.
Even so, you will still have to make a dynamic assessment of the conditions as you go. Weather conditions can be very localised, particularly in the mountains. You should also be mindful of signs of forecast poor weather moving in earlier than expected.
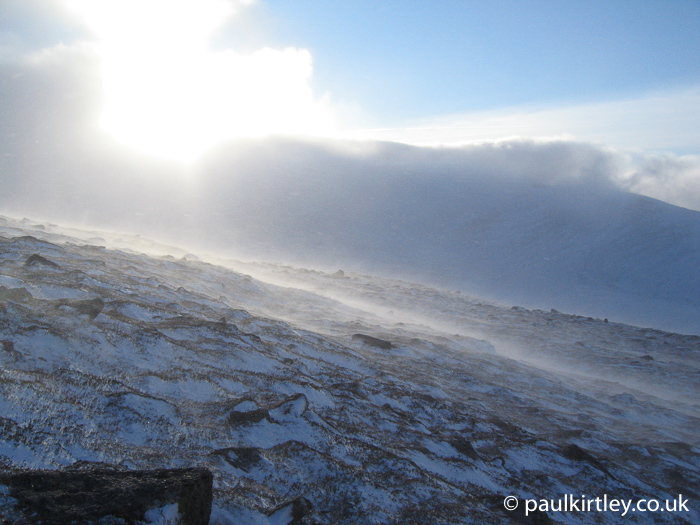
Snow conditions will be different from one slope to the next. In the mountains you will have obtained a general sense of which slope aspects might be more avalanche prone from previous weather reports as well as any avalanche reports available. You should, however, have the ability to assess potential avalanche slopes for yourself. Around 90% of avalanches involving people are triggered by the people themselves.
In winter, have the flexibility and humility to decide to retreat if conditions are worse than you can safely cope with. Use one of your planned escape routes to return to safer ground.
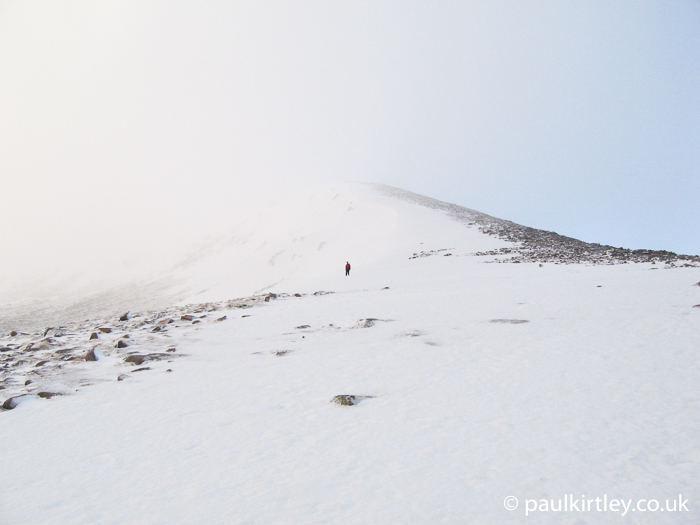
Winter Mountain Walking Skills
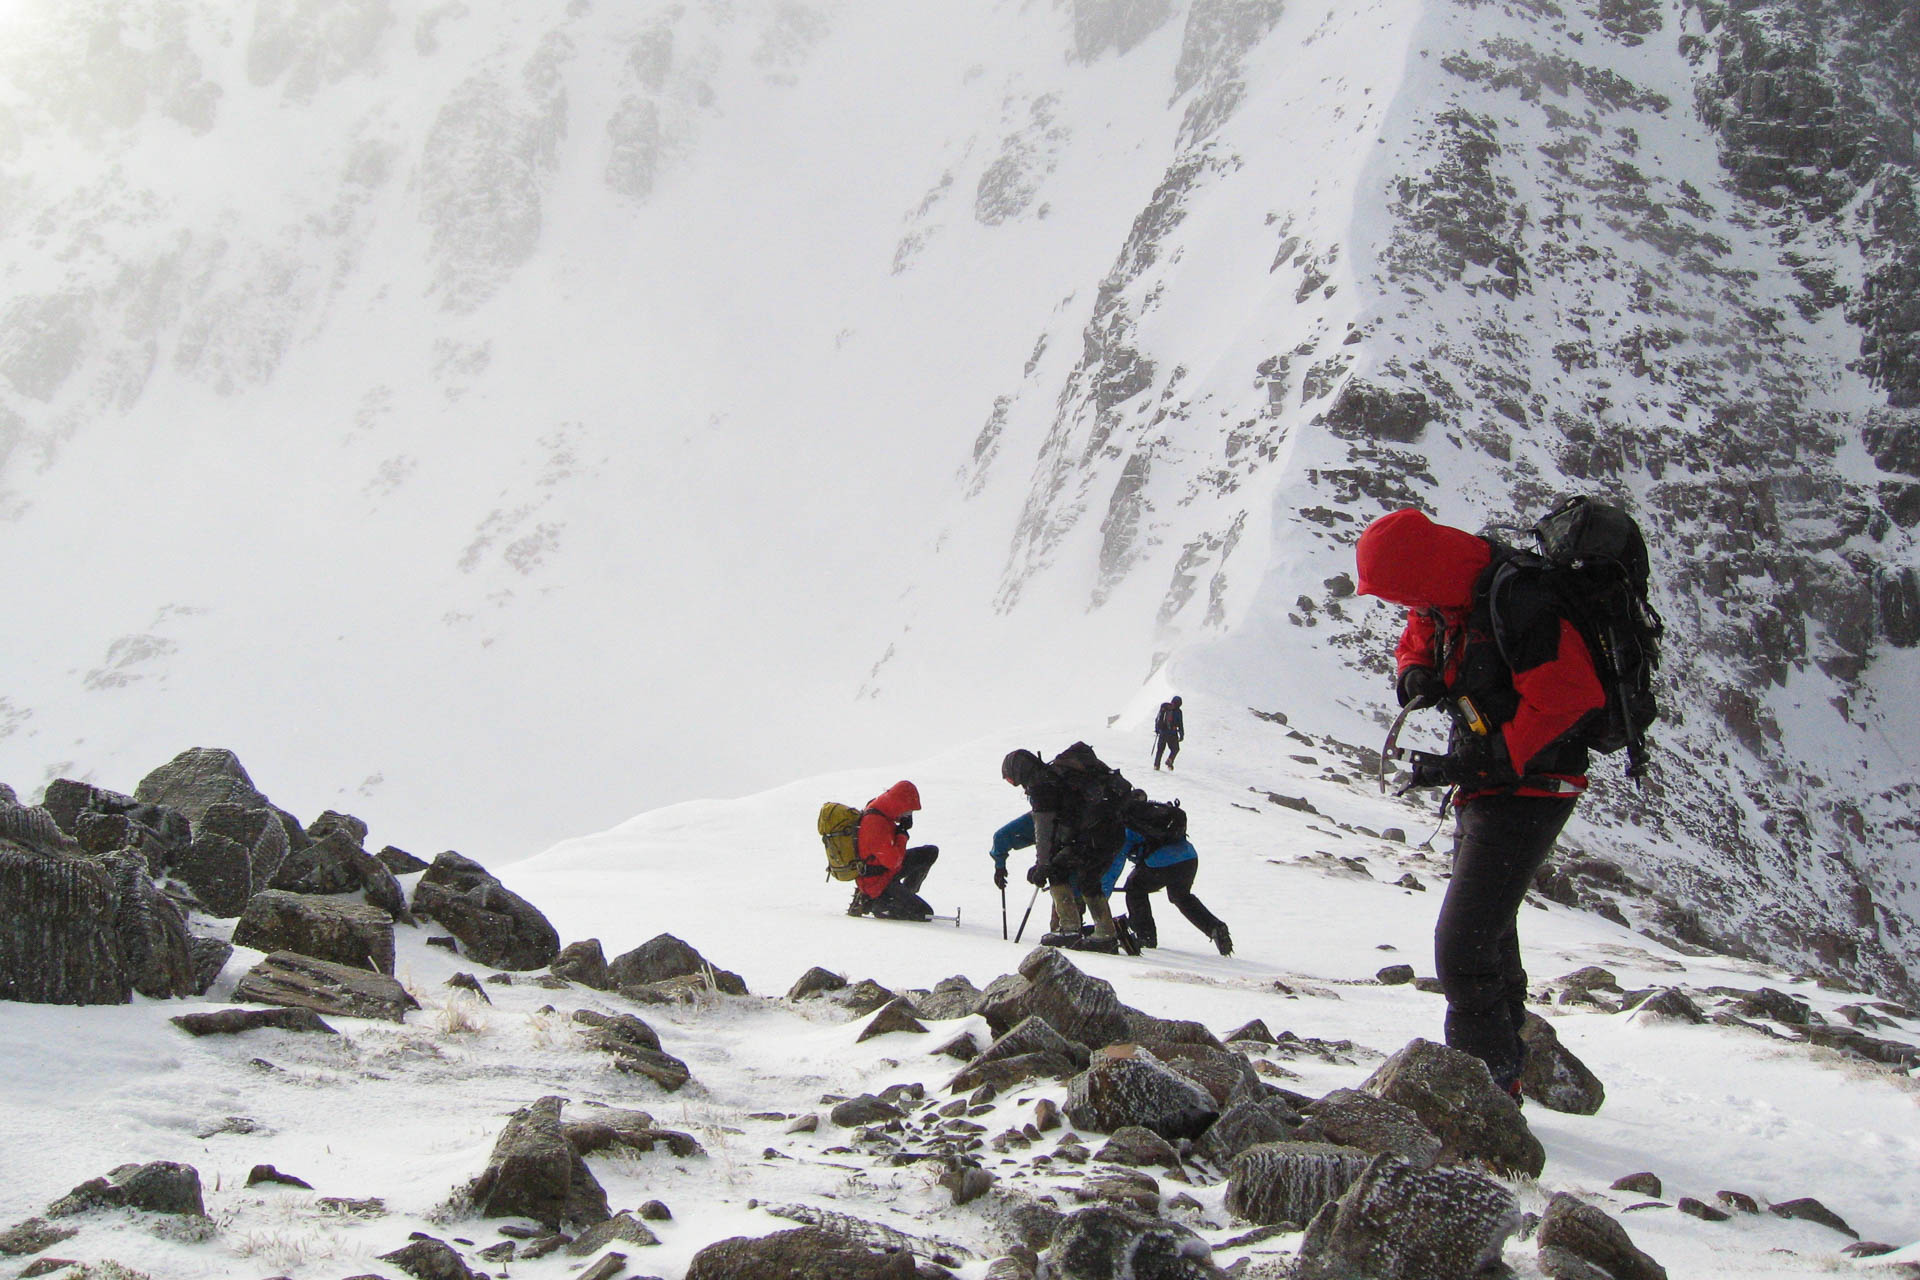
If you intend to walk in the mountains in winter, you will need some specific winter walking skills and equipment.
Winter Mountain Walking Equipment
An ice axe is a key piece of winter walking equipment. It has three specific tool components – an adze and a pick at the head and a point at the end of the handle shaft. At its most basic held at the head, shaft down, the axe works as a third leg, adding stability on steep or uneven ground. The point of the shaft can gain purchase on even crusty snow. The adze is available for cutting steps while moving up or down steep crusty snow. The pick can give you purchase on steeper ground or on short scrambles.
The pick also acts as a brake when undertaking an ice axe arrest. Ice axe arrests are a critical part of your winter walking skill set. If you trip or fall onto a snowy slope you will slide a considerable distance, potentially gaining speed as you go. If you cannot stop on the slope, you may well be taken down over a drop or into rocks, resulting in serious injury or death.
Sliding downhill on your back or your front, feet first or head first, you must be able to undertake and arrest using the axe. Whatever the starting point, the arrest position involves you to being on your front, head uphill, with your feet up away from the snow to avoid a tumbling fall, with the axe held across your chest, pick down in the snow, the upper hand on the adze and the lower hand on the handle. The pick dragging through the snow brakes your slide.
I’ve had to use an ice axe arrest for real in the mountains of Scotland. It worked but this is a skill which needs practise. You should practise on a slope with a safe run-out. Wear a helmet and do not wear crampons while training in the techniques.
While walking on slopes, carry your axe in hand, on the uphill side, shaft downwards, adze facing forwards, pick facing backwards, thumb and forefinger around the adze, index finger pointing down the shaft and the remaining fingers around the pick. In this position, the axe will provide support as a third leg if needed as well as being ready to be deployed in an arrest.
Crampons are another key piece of winter walking equipment. They should be paired properly with suitable boots. Rigid crampons do not pair with flexible boots. Articulated crampons are not suitable for more demanding conditions. If you only have summer walking boots and wish to head into the mountains in winter, then you will have to make the investment in some winter boots, which are generally more rigid and more supportive. It’s normally best to buy your winter boots and crampons together but either way, you should seek advice on model combinations and good fit from a reputable outdoor store, where their staff are experienced winter walkers and mountaineers.
Walking with crampons is not as simple as strapping them on and heading off. Crampons are sharp and can cause damage to clothing or injury to you. Most people need to slightly modify their natural gait to walk with their legs a little further apart so not to brush the crampon points against their lower legs.
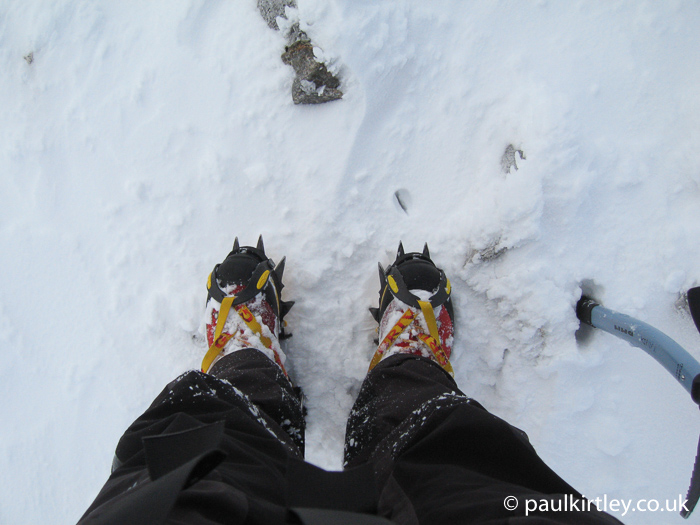
A common mistake with crampon beginners is to use the outside edge of the crampon as you would the edge of a boot sole to gain purchase on loose ground or mud on a slope. With crampons, rather, your default mode is to be flat footed. You gain most purchase by having all points of the crampon in contact with the surface you are walking on.
When moving directly up a steep slope it is natural to want to move onto the front of your foot and this can be done while wearing crampons using a technique known as front pointing. This utilises the front four points on the crampons. Stiff-soled boots have the advantage of greater support here. The foot should be kept horizontal, the body vertical. Do not lean forward or overly angle the foot, otherwise the crampon points may lever out of the surface as you transfer weight.
If necessary kick steps into the snow to obtain better foot placement or to ensure decent point penetration. Sometimes you may find yourself using a hybrid of flat footing and front pointing, this mixed technique is also valid.
Even though you are carrying a rudimentary emergency shelter, much more protective shelters can be made of the snow itself. While it is possible to dig out a rudimentary snow hole with an ice axe, a snow shovel is much more efficacious. A lightweight model with a detachable handle can easily be stowed in a winter day pack. Snow shovels are also valuable in digging out victims of avalanches.
Further Reading – Skills and Knowledge For Winter Mountains
Additional Clothing For Winter Mountain Walking
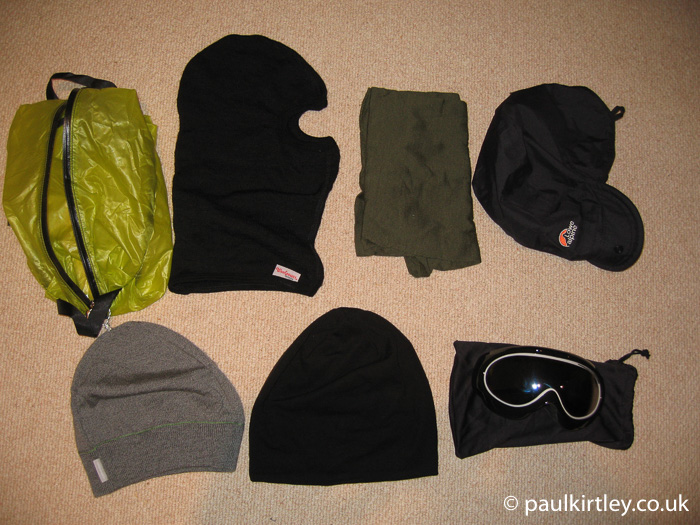
When heading into the mountains in winter, a few additional items of clothing are recommended to provide extra protection. For your hands, mittens should be carried in addition to gloves. For your head, you should carry a balaclava and goggles to protect your face and eyes. Goggles make a critical difference when having to walk into strong winds containing frozen precipitation or spindrift. You will still be able to function with your eyes open in conditions that would otherwise be impossible.
The UK hills and mountains present a range of technical difficulty under even summer conditions. In winter the range of technical difficulty is broadened by snow and ice. If you are keen to get into the hills in winter then start with technically easy terrain and get used to walking in winter weather conditions, hone your navigation skills and learn to manage your clothing effectively.
If you are happy to be out in winter weather but have little or no experience in the mountains in winter, then experienced guides can be hired to provide great days out while looking after your safety in more technical terrain.
If you wish to go into the mountains in full winter conditions without a guide, then I would strongly recommend first undertaking a training course in winter mountain walking skills with one of the national mountain training centres at Plas Y Brenin or Glenmore Lodge.
Winter Walking Checklists
Basic Winter Walking Checklist
- Thermal base layer
- Warm layers
- Waterproof and windproof shell
- Gloves
- Warm hat
- Flask of warm drink
- Lunch
- Calorific snacks
- Head torch
- Spare batteries
- First aid kit
- Survival bag for indiduals
- Group shelter if there are more than one of you
- Map
- Mapcase
- Compass
- GPS
Winter Mountain Walking Checklist
(in addition to the basic winter walking list above)
- Winter boots suitable for crampons
- Crampons
- Ice Axe
- Helmet
- Snow shovel
- Mothership jacket
- Mittens
- Goggles
- Balaclava
- Multitool with pliers for fixing crampons
- Blizzard bag
A version of this article was originally published in Walk, Magazine of the Ramblers
Further Useful Reading…
See also the two topic-specific reading lists within the article.
Related Material On Paul Kirtley’s Blog
Winter Bivvying – How To Stay Warm In A World Of Cold
24 thoughts on “Winter Hill Walking – Essential Skills And Equipment”
Excellent article Paul. I’ve done some Winter walking in Snowdonia, but nothing too technical or complicated. I know my own limitations, and that of my kit and have no intention of hitching a ride home in a helicopter! I am always amazed at how some people underestimate the conditions out on the hills and a few times have met people totally unprepared for what’s ahead. Thanks again.
Yes Stephen, well said. We should never underestimate winter conditions.
Best,
Paul
Please tell me how our ancestors for able to do pretty much the exact same thing and explore new places cross Mountain and valleys and not have but maybe a fifth of the equipment that you’re talkin about and none of it that high tech and were able to do this without all the gear you’re talking about
And lots of those that did go there died doing just that Roy! Plus not many people would have gone into the mountains in Winter. Modern mountaineering and Winter Walking is just that a modern phenomenon, certainly in the numbers doing it today. Those that did go into the mountains would have been “proper” mountain men, trappers/hunters and so on. Farmers wouldn’t have gone there. Why would they, their animals would have been brought down in the Autumn. People going into mountains in Winter, (or summer come to that), do underestimate the conditions and gear needed for what can be a really hostile environment. Not to take the right gear can be fatal for you, and put others lives at risk. Surely reminding people what to take can’t be a bad thing?
Hi Roy, I’m not aware of any evidence that our distant ancestors were recreational mountaineers. Indeed most of the equipment we accept for this modern activity has been developed since it became a pastime from Victorian times onwards.
Warm regards,
Paul
Ice axe arrests
“Wear a helmet and do not wear crampons while training in the techniques.”
Please mention about when wearing crampons, picking up up feet in the air when doing Self-arrest so you do not get your feet caught in the snow and cartwheeling
Looks like you already did 🙂
lol
no I did not
Sun glasses as protection against snow blindness
Thanks for sharing another valuable post full of information Paul. I lived on Dartmoor as a child and I still remember my Dad drilling home to my brother and myself the importance of preparing for the weather to change without much warning. On the mountains there is far more to prepare for, this post could save lives,literally.
All the best, Dave.
My pleasure David. Thanks for your comments. Sounds like your dad did a good job. All the best, Paul
Excellent article, really helpful. Thanks Paul
Glad it was helpful Andrew. Thanks for the feedback.
One point i would add though is the gear mentioned here is all useful, however be mindful of the weight of your pack, the heavier the pack the greater effort required. For e.g. My head wear for a winter day out for example is trimmed down to the balaclava only, functions as a hat when rolled up, when conditions are really bad then the water proof jacket is already on and its hood then provides a waterproof layer on top of the insulation layer. A clear pair of ski type googles are a life saver when used with balaclava, i have remained warm, dry and able to nav on the ben in high windforce winds in blizzards, although his is not to be undertaken lightly, it required counting paces and constant reference to compass and map to keep on a straight track. Crampons are another story altogether, in snow i prefer to rely on ice axe and cutting steps when required, crampons can be more of a hinderence when used by the inexperienced in the wrong conditions. A good article non the less and should be a spur to further reading by those undertaking their first steops out in winter.
Yes, indeed. Pack weight is always an important consideration.
Best,
Paul
Hi Paul,
Thanks so much for this post. I’m doing a hike with my son next weekend along the East Okement Valley to Observation Posts 16 & 17 on Dartmoor, to enclude Oke Tor and East Mill Tor. This is a recce for camping areas later in the year.
Your Winter Walking checklist is very similar to what I carry every time I visit Dartmoor as the weather can change very quickly. The only things I’d add are my full Crusader Mk1 set, some Firedragon fuel blocks, windproof matches and a pair of sit-mats for us.
Really enjoying your blog, Paul.
Hi John,
Thanks for your comments. Dartmoor can be a wonderfully wild place. Glad you are making the most of it 🙂 I’m also glad you are enjoying my blog. Thanks for taking the time to let me know.
Warm regards,
Paul
Gaitors:- Wear over or under waterproofs? I’ve always worn over as to protect bottoms from being ripped by crampons. I went out with a couple last weekend when it was just wet, they both put gaitors on then waterproofs over the top!!
Good question Paul. Personally I tend to wear gaiters over my walking/outdoor trousers, mainly to stop mud smearing all over the bottom of the trousers. The gaiters can then be removed and left in, say, the tent vestibule so mud is not taken inside. I also find gaiters stop bits of heather getting into my boots and socks when walking on the hills and moors in the UK. If it’s raining, however, it makes sense to wear gaiters inside the waterproof trousers. Otherwise water runs down the overtrousers and inside the gaiters. Also, if you keep your gaiters over your walking (non-waterproof) trousers but put your waterproof overtrousers over the top, there is no need to readjust the gaiters. Just put the waterproofs on and off as required.
Warm regards,
Paul
Always enjoy such a well written and comprehensive article
I always suggest having a synthetic belay jacket rather than down for UK use. The maritime climate and the temperatures hovering about and below zero mean the precipitation is wet(ish). Bad news for a down filled jacket , even if it has a waterproof outer and the down is treated.
Hi Ant, yes I would wholeheartedly agree with this. I love my Mountain Equipment ‘Fitzroy’ jacket for the UK. I think in the article I was trying to convey the more general concept of a mothership jacket, which could be either down or synthetic, depending on the context. I admit, though, in compressing the wordcount of this article for it’s original purpose, in a magazine, some of the descriptions or distinctions are not as complete as I would normally allow myself if I had more room. Thanks for picking up on this.
Warm regards,
Paul
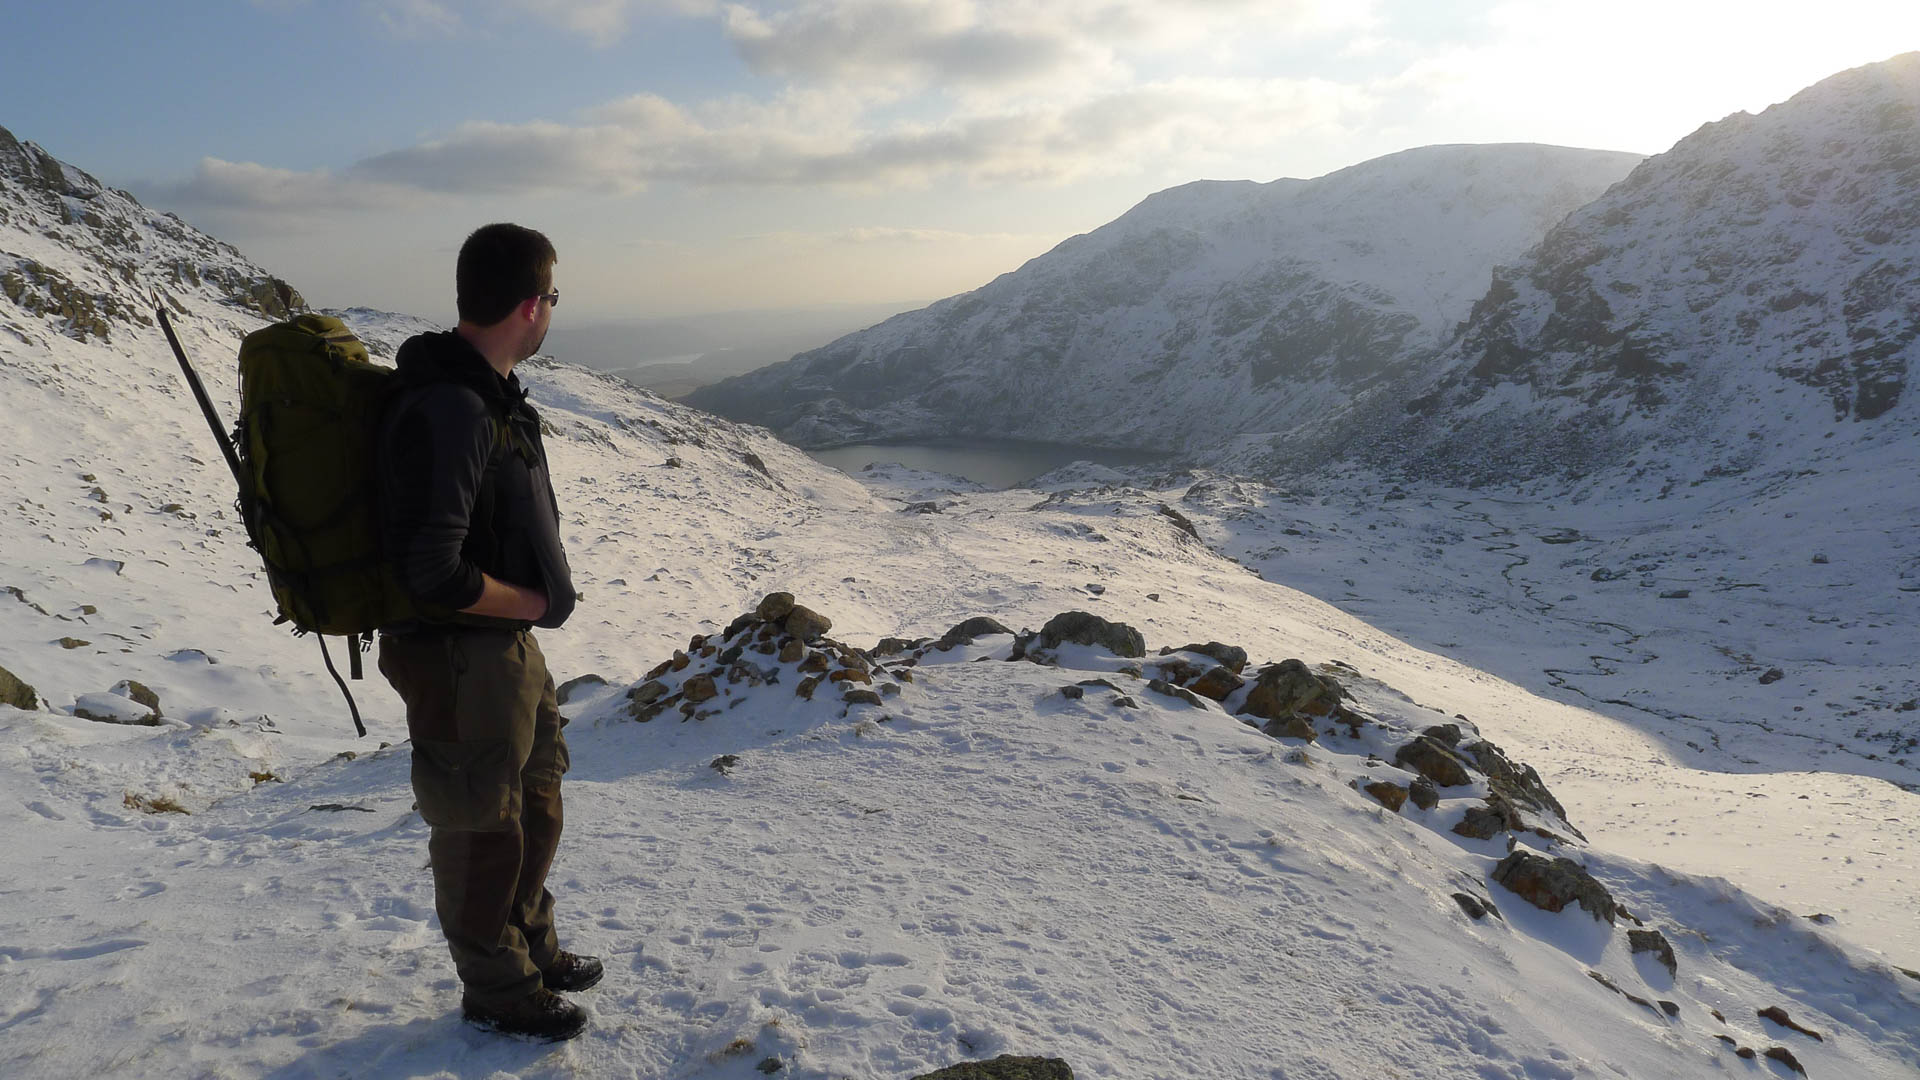
Just a minor point Paul, but in all my years of mountaineering and winter hill walking, I have never carried my ice axe attached to my rucksack (as shown in the first picture of this otherwise excellent article where the individual pictured is clearly above the snow line). If carried on a pack, it is impossible to reach without removing the pack. I have always carried mine in my hand, as you describe, or more often, with the shaft of the axe between my pack and my back (between the shoulder blades) with the head sitting on the straps of the pack. It is comfortable to carry and easy to reach in a hurry.
Another point I learned from experience, if using aluminium or plastic drinks bottles for water, make sure they are carried upside down in very cold conditions. Ice forms from the top down, so if carried the right way up, the top gets blocked with ice and the contents are un-drinkable.
Hi Lee, thanks for your comments and for the excellent advice and tips. It’s a while ago but if I recall correctly the day the photo currently at the top of the article was taken, there was a dusting of snow (in the Lake District) and none of it was solid. This is why I think James, who is in the photo, didn’t elect to remove it from his pack. We’d taken our winter gear with us but in the end it was a hillwalk with a dusting of fresh snow. But you are absolutely right that it is of no use in this position and easily carried in the hand. Moreover, while I chose the photo for the article because it’s quite striking, your comments have made me realise it probably gives the wrong impression to the inexperienced (not you) and is also puzzling to the experienced (you) without any context. I suspect I should find a more representative (and more responsible) photo for the head of the article. Thanks for your observations and input. Much appreciated.
Warm regards,
Paul